
Your workspace is ready and you want to invite your colleagues. Do one thing first: decide who gets to see what. In Xcellerate OPS that takes about half an hour, and it saves you from technicians seeing hourly rates or a former employee who can still sign in.
TL;DR
- Access runs through teams: per functional area you choose contribute, view or blocked. Someone in no team sees nothing.
- Budget amounts and technician rates can be stripped server-side for people who don't need to see money.
- When someone leaves, you disable them: sessions end, sign-in is refused and API keys are revoked, in every workspace.
Why permissions come before invitations
OPS is secure by default. Permissions belong to teams, not to individuals. For each functional area a team gets one of three levels: contribute, view or blocked. If a person is in several teams, they get the widest combination of all those teams together. And a person in no team is blocked everywhere until you assign one.
That is safe, but it also means that if you invite everyone without teams, you will soon get messages saying "OPS is empty". So: structure first.
Step 1: sketch your teams on paper
Start with a sheet of paper, not the software. Which groups do different work and need to see different things? For a small MSP, this is a workable example. Our demo workspace uses the same four teams.
| Team | Contribute | View | Blocked |
|---|---|---|---|
| Service Desk | tickets | customers, projects | sales, invoicing |
| Network & Infra | tickets, projects | customers | sales, invoicing |
| Sales | opportunities, quotes | customers, tickets | invoicing |
| Accounting | invoicing | customers, contracts | – |
It is an example, not a template: the functional areas in OPS may be named differently or split more finely. Keep the number of teams small.
Step 2: create the teams and appoint a team lead
In Settings, open the teams and permissions section under the people and access group. You create a team by giving it a name. The list shows each team's member count and its team lead.
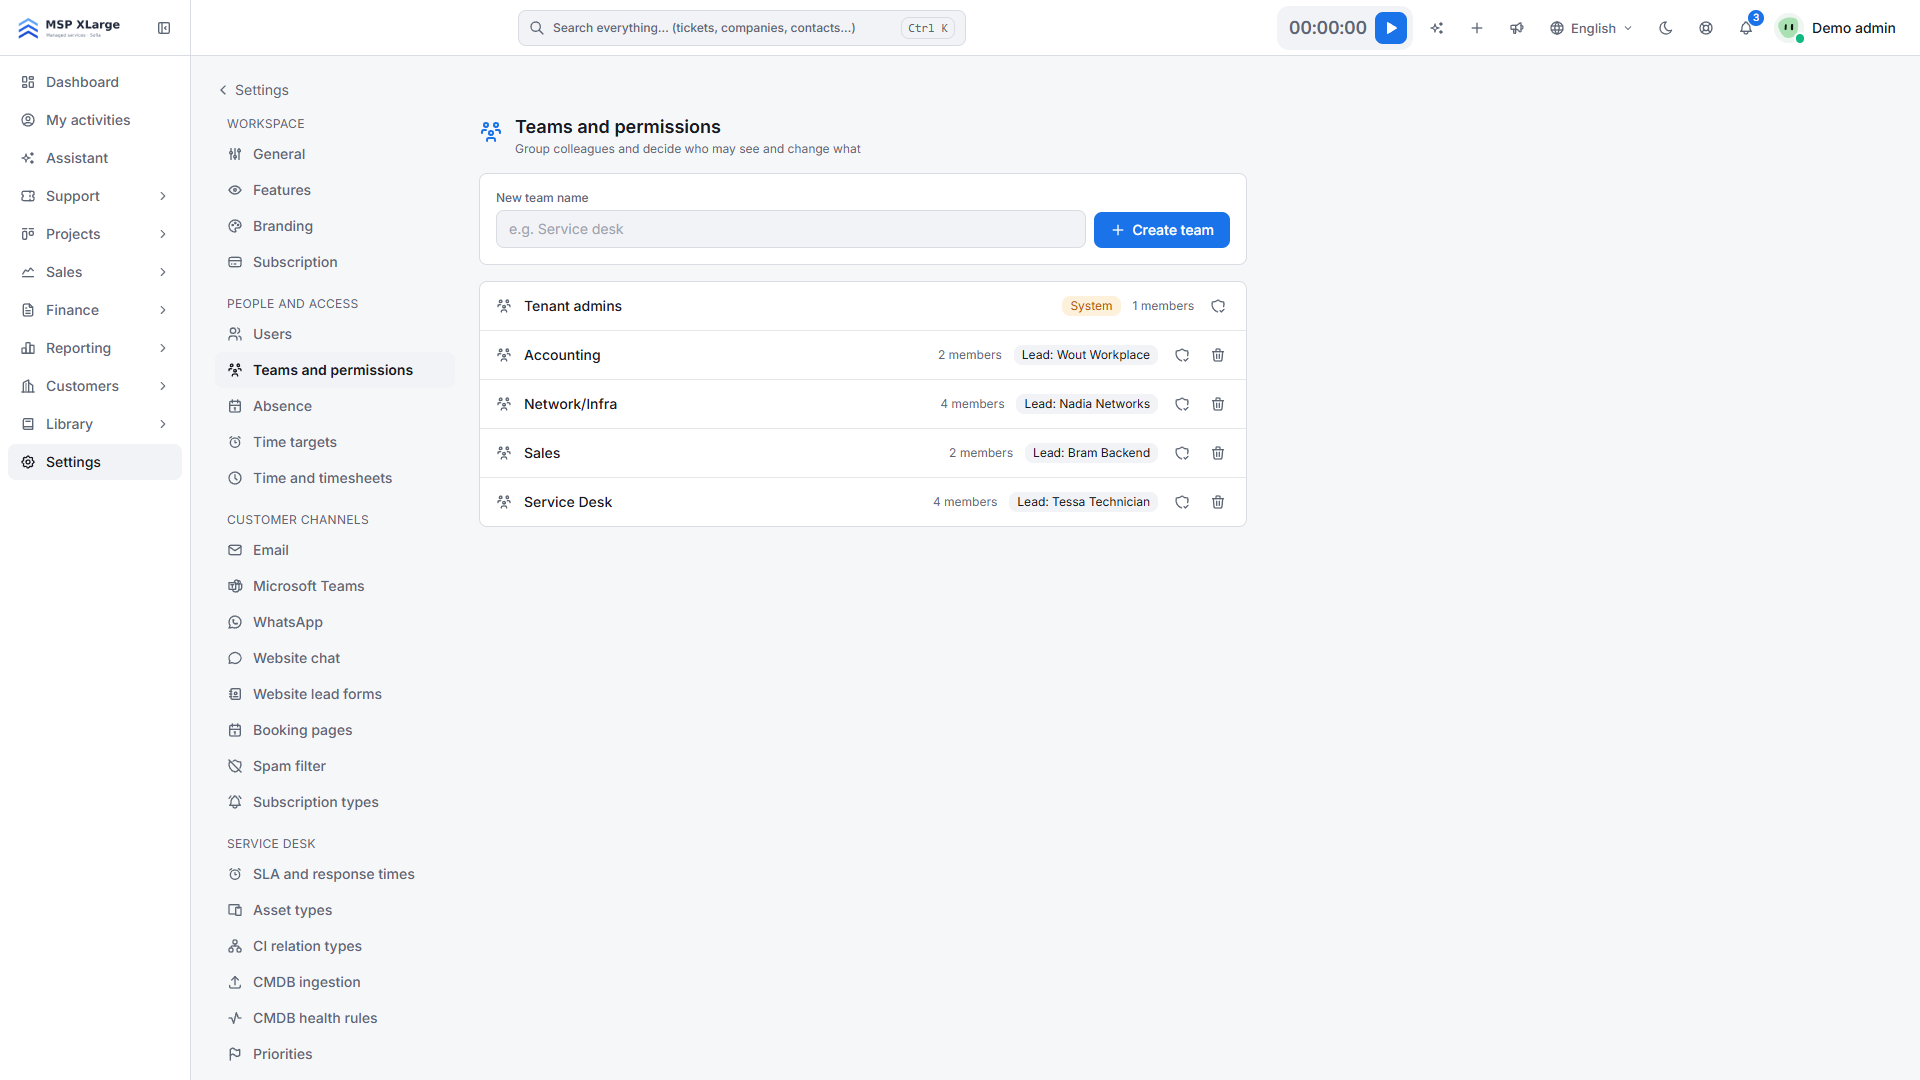 The teams list, showing each team's member count and team lead, including the "Tenant admins" system team.
You will also see a system team: "Tenant admins". That is the team of your workspace administrators. Keep it as small as you can, ideally you plus one backup.
Pick team leads deliberately. In OPS they receive, among other things, SLA breach alerts, and they can sit in the approval route for timesheets.
Step 3: set contribute, view or blocked per area
Go through the functional areas team by team. When in doubt, choose "view" rather than "contribute". You can always widen access later. Because permissions add up across teams, give someone extra access by adding them to a second team, not by making a team broader than it needs to be.
Keep money out of sight
Not everyone needs to know what a technician costs or how big a project budget is. OPS has dedicated permissions that strip budget amounts and technician rates server-side. The figures are not just hidden on screen; they are never sent to that user. Project profitability (revenue, cost and margin) is visible to admins only in any case.
Step 4: invite users with a role, teams and capacity
Only now do you invite people, by e-mail address. You pick the role (Admin or Technician) and the teams right away. That way access is correct from the very first sign-in.
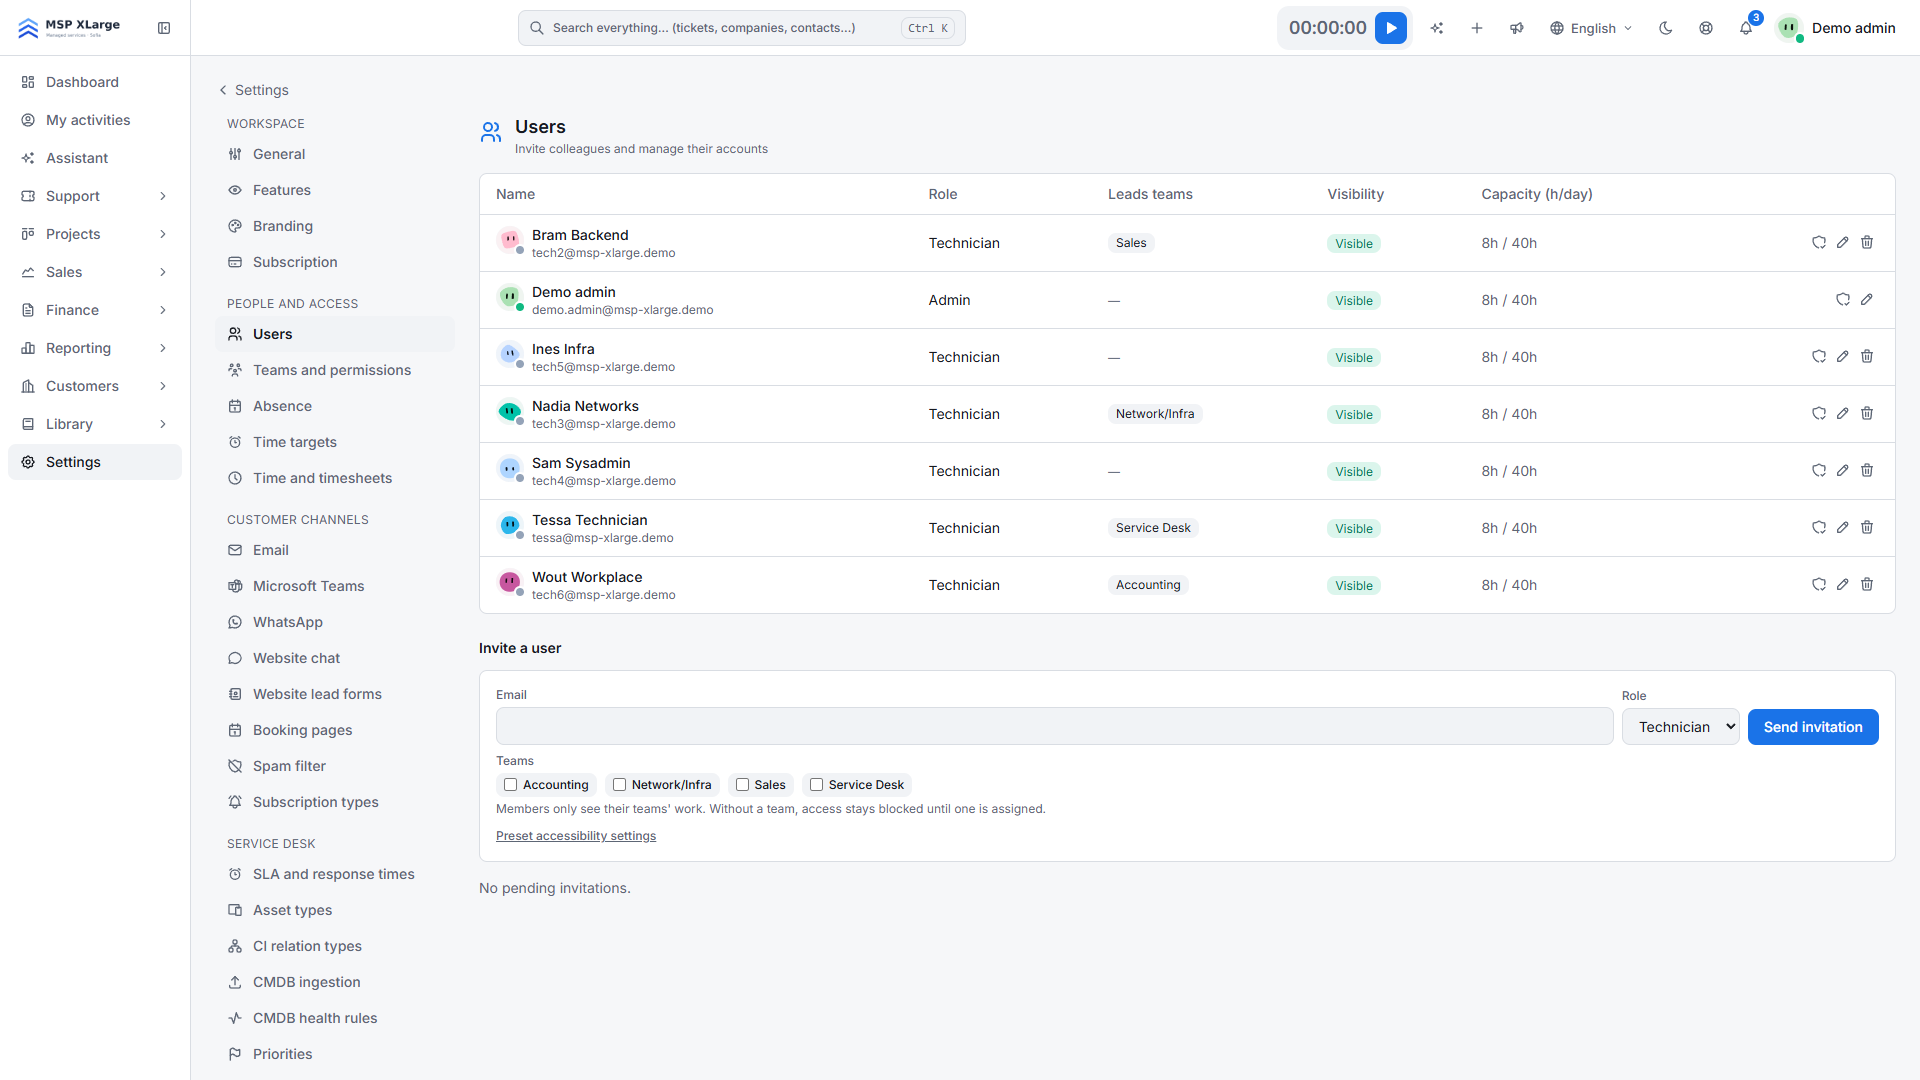 The users list with role, teams led, visibility and capacity, plus the form to invite a user.
Fill in the capacity too, for example 8 hours a day or 40 hours a week. That records how many hours each person is available, which matters most for part-timers.
Step 5: lock down sign-in
- MFA: every password sign-in asks for a second proof, a passkey or an authenticator code. Single-use recovery codes are provided. Ask your team to store them safely.
- Passkeys: sign in with the device's fingerprint, face or PIN, resistant to phishing. Your workspace can require them.
- SSO: if your team already works in Microsoft 365 or Google Workspace, set up Microsoft or Google single sign-on for your workspace. In the integrations hub you drag it onto the authentication category.
- Brute-force protection: every sign-in path is throttled on repeated attempts. Nothing to configure.
More on MFA, passkeys and SSO: Security & access control.
Several workspaces
Do you run more than one workspace, for example for a second company? One credential can hold memberships in several workspaces, with a workspace switcher and one password reset that covers them all. Each workspace still has its own isolated database. See multi-tenant architecture.
Offboarding checklist
- Disable the person in OPS. This ends their sessions immediately, refuses password and SSO sign-in and revokes their API keys, in every workspace they could reach.
- Reassign their open tickets and tasks to a colleague.
- Were they a team lead? Appoint a new one, so alerts and approvals don't get stuck.
- Change any shared passwords they knew. The vault keeps an audit log of who accessed which credentials; that is a good starting point.
Common mistakes
- Hiding modules and calling it security. The visible-feature toggles are purely cosmetic: pages stay reachable. Access is controlled with teams. See modular & customizable.
- Putting everyone in "Tenant admins" because it is quicker. Then you no longer have a permission model, only trust.
- Inviting someone without a team. They see nothing and assume OPS is broken.
- Shared logins. One account for two people makes MFA, offboarding and the logs meaningless.
No workspace yet? Get started for free and set up your teams before you invite your first colleague.