Connect your own PayPal business account to Xcellerate OPS and your customers can pay sent invoices with PayPal. The money goes to your PayPal account. This guide is for admins of MSPs and service businesses whose customers prefer to pay with PayPal.
TL;DR
- Create a REST app in the PayPal Developer dashboard and enter its Client ID and Client secret under Integrations → Payments.
- Test first with a sandbox app and Use PayPal sandbox (testing) ticked. Then switch to your live app.
- Ask your customer to finish the payment and return to the payment page. The invoice then switches to Paid.
Before you start
- You are a workspace admin in OPS. Only admins can set up payment integrations.
- You have a PayPal business account.
- You invoice from OPS itself. Payment links aren't available while an external e-invoicing platform replaces the built-in invoicing.
Step 1: Create a REST app in PayPal
Go to developer.paypal.com and create a REST app: a Sandbox app for testing, a Live app for real payments. Copy the app's Client ID and Secret. You don't need to register a webhook or return URL in PayPal.
Step 2: Add PayPal in OPS
In OPS, go to Settings → Integrations. The board groups integrations by category, with the catalog on the right. PayPal appears there with the hint Online invoice payments.
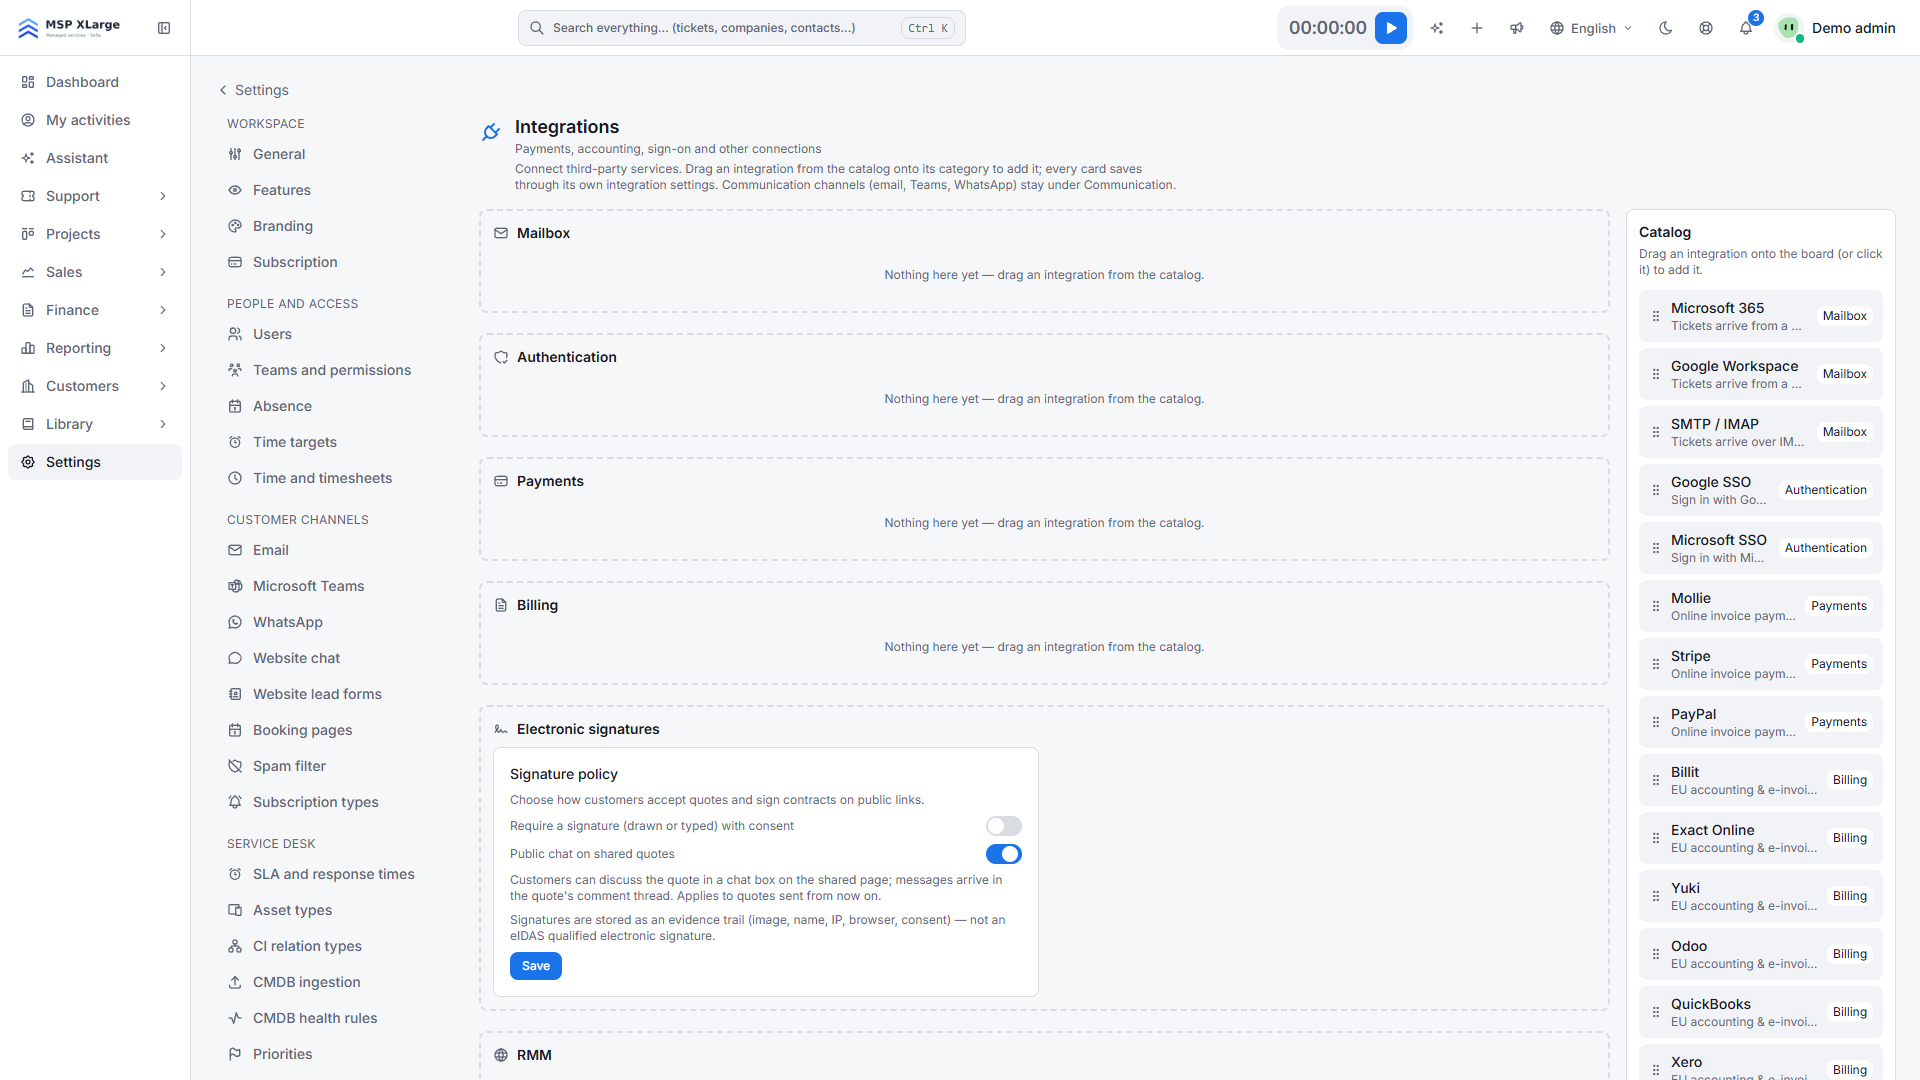 The Integrations board with empty Mailbox, Authentication, Payments and Billing categories and the catalog on the right.
No PayPal card under Payments yet? Add PayPal from the catalog to the Payments column. The card reads: "Payments via your own PayPal business account."
Step 3: Enter your credentials and save
- Enter the Client ID and Client secret.
- Tick Use PayPal sandbox (testing) only when you use credentials from a sandbox app.
- Press Save. You'll see "PayPal settings saved."
PayPal is active once both fields are saved. The Client ID stays visible. The Client secret is never shown again.
Step 4: Test, then go live
OPS doesn't validate the credentials when you save them, so test first:
- Finalize an invoice so its status is Sent.
- Open the pay link, choose PayPal and approve the payment with a sandbox test account.
- Wait until you're back on the payment page and check that the invoice shows Paid.
All good? Enter your live app's credentials, untick the sandbox box and save again.
What happens after you connect
- The payment page of every sent invoice shows a PayPal button.
- The payment always covers the full invoice total.
- Your customer approves the payment at PayPal and then comes back to the OPS payment page. The payment is then completed and the invoice switches to Paid. A cancelled PayPal payment is recorded as failed.
- The payment is recorded on the invoice, with PayPal as the method.
Good to know
- The money goes to your own PayPal account, not through RMM Labs.
- Ask payers to finish the payment and wait until they're back on the payment page. Only then is the payment complete.
- The sandbox box must match the app type. Live credentials with the sandbox ticked, or the other way round, won't work.
- Partial payments aren't supported.
- Disable clears both the Client ID and the Client secret. You'll see "PayPal disconnected."
- You can run PayPal next to Mollie and Stripe. Each provider becomes its own button on the payment page.
Troubleshooting
- Your customer sees "The payment could not be started. Please try again later." The PayPal payment couldn't be created. Check the Client ID, the Client secret and the sandbox setting.
- Approved in PayPal, but not paid in OPS. The payer didn't return to the payment page. No money was taken, so ask your customer to pay again through the pay link.
- The card says "Not applicable while external e-invoicing is enabled." Online payment links only work with the built-in invoicing in OPS.
Get paid faster
Read more about sales and billing and our EU integrations. Ready to try it? Get started for free.