
Integrations28 Sept 2026
How to push invoices from Xcellerate OPS to Yuki automatically and bring existing Yuki sales invoices and customers in with a one-off import.
Connect your Yuki administration to Xcellerate OPS and every invoice you send from OPS is created in Yuki as a sales invoice, automatically. No more retyping invoices. This guide is for admins of IT MSPs and service businesses that already keep their books in Yuki.
TL;DR
- You need a Yuki API key, the Administration ID and the admin role in OPS.
- When an invoice moves from draft to sent, OPS creates it as a sales invoice in Yuki.
- A manual import brings existing Yuki sales invoices and customers into OPS.
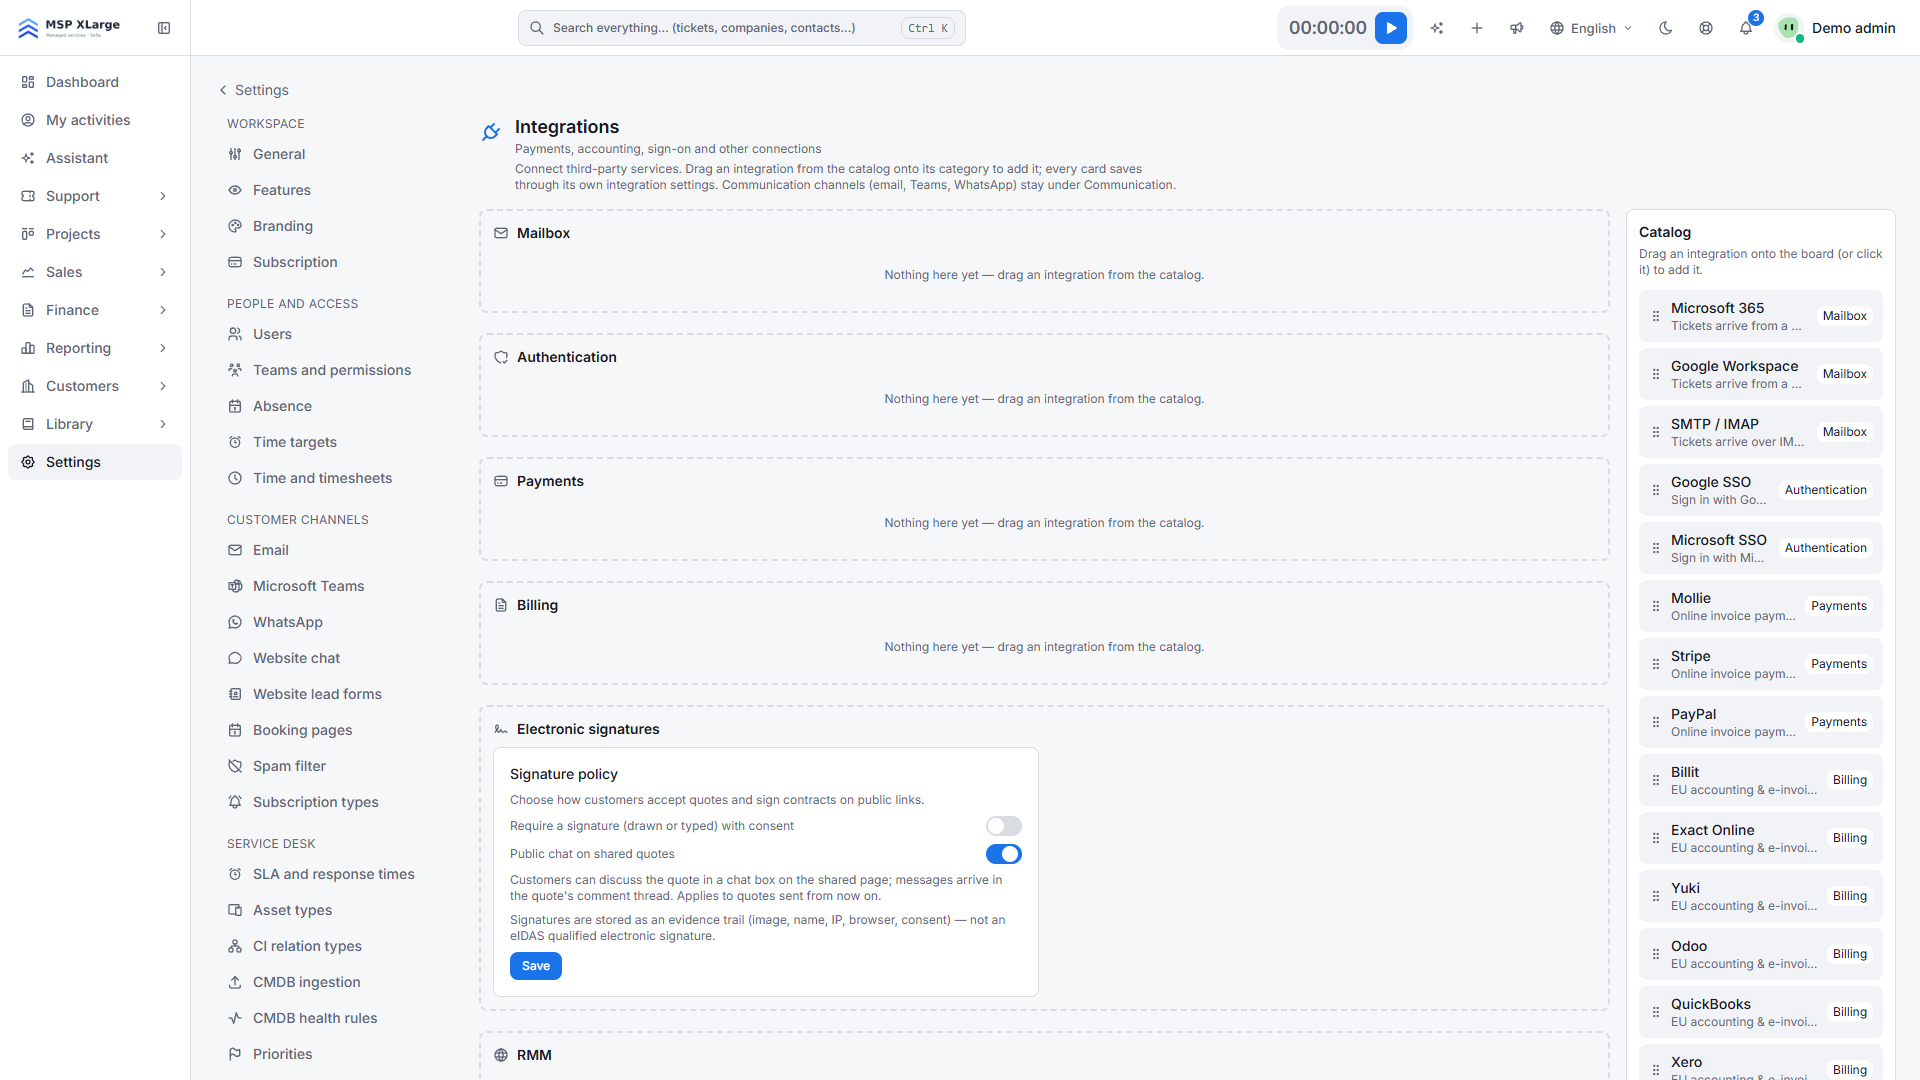
In OPS, go to Settings → Integrations. If there is no Yuki card in the Billing column yet, add Yuki from the Catalog.
The integrations board with empty categories (Mailbox, Authentication, Payments, Billing) and the catalog of available integrations on the right.
On the Yuki card, fill in API key and Administration ID, then click Save. You should see "Yuki settings saved."
Click Test connection. On success, OPS shows "Yuki connection successful."
Click Use for invoice push. OPS confirms "Invoices now sync to Yuki on finalization." and the card shows the Push target badge.
Under Manual import from Yuki, set a From date and click Import companies & invoices.
Yuki responded with HTTP <code> on Test connection: usually the API key or the Administration ID is wrong. Check both and test again.Configure this provider first.: you tested or imported before saving a key. Fill in the fields and click Save first.Configure and connect this provider first.: you clicked Use for invoice push before the connection was set up. Complete steps 2 and 3 first.Import failed: <error> or … N skipped because the customer has no name or VAT number.: some documents have a customer without a name or VAT number. Complete them in Yuki and run the import again.Read more about EU integrations in OPS and sales and billing. No workspace yet? Get started for free, then connect Yuki.
Xcellerate OPS covers Belgian 2027 time registration requirements out of the box — no extra module needed.