A custom domain puts your workspace and client portal on your own address, such as support.yourmsp.com, instead of the standard workspace address. You add one DNS record at your domain provider, OPS requests a free Let's Encrypt certificate and renews it automatically. It suits MSPs that want to offer clients a portal under their own name.
TL;DR
- Enter your hostname under Settings → Branding → Custom domain and save.
- Create the CNAME record OPS shows at your DNS provider, wait until it resolves, then click Request certificate.
- Renewal is automatic. One custom domain per workspace.
Before you start
- You are an admin of your OPS workspace.
- You control a domain or subdomain and can edit its DNS.
- Port 80 must reach the platform, because Let's Encrypt checks the domain over HTTP. No CAA record may block Let's Encrypt.
- A domain can only belong to one workspace.
Step 1: open the custom domain settings
Go to Settings → Workspace → Branding and scroll down to the Custom domain section.
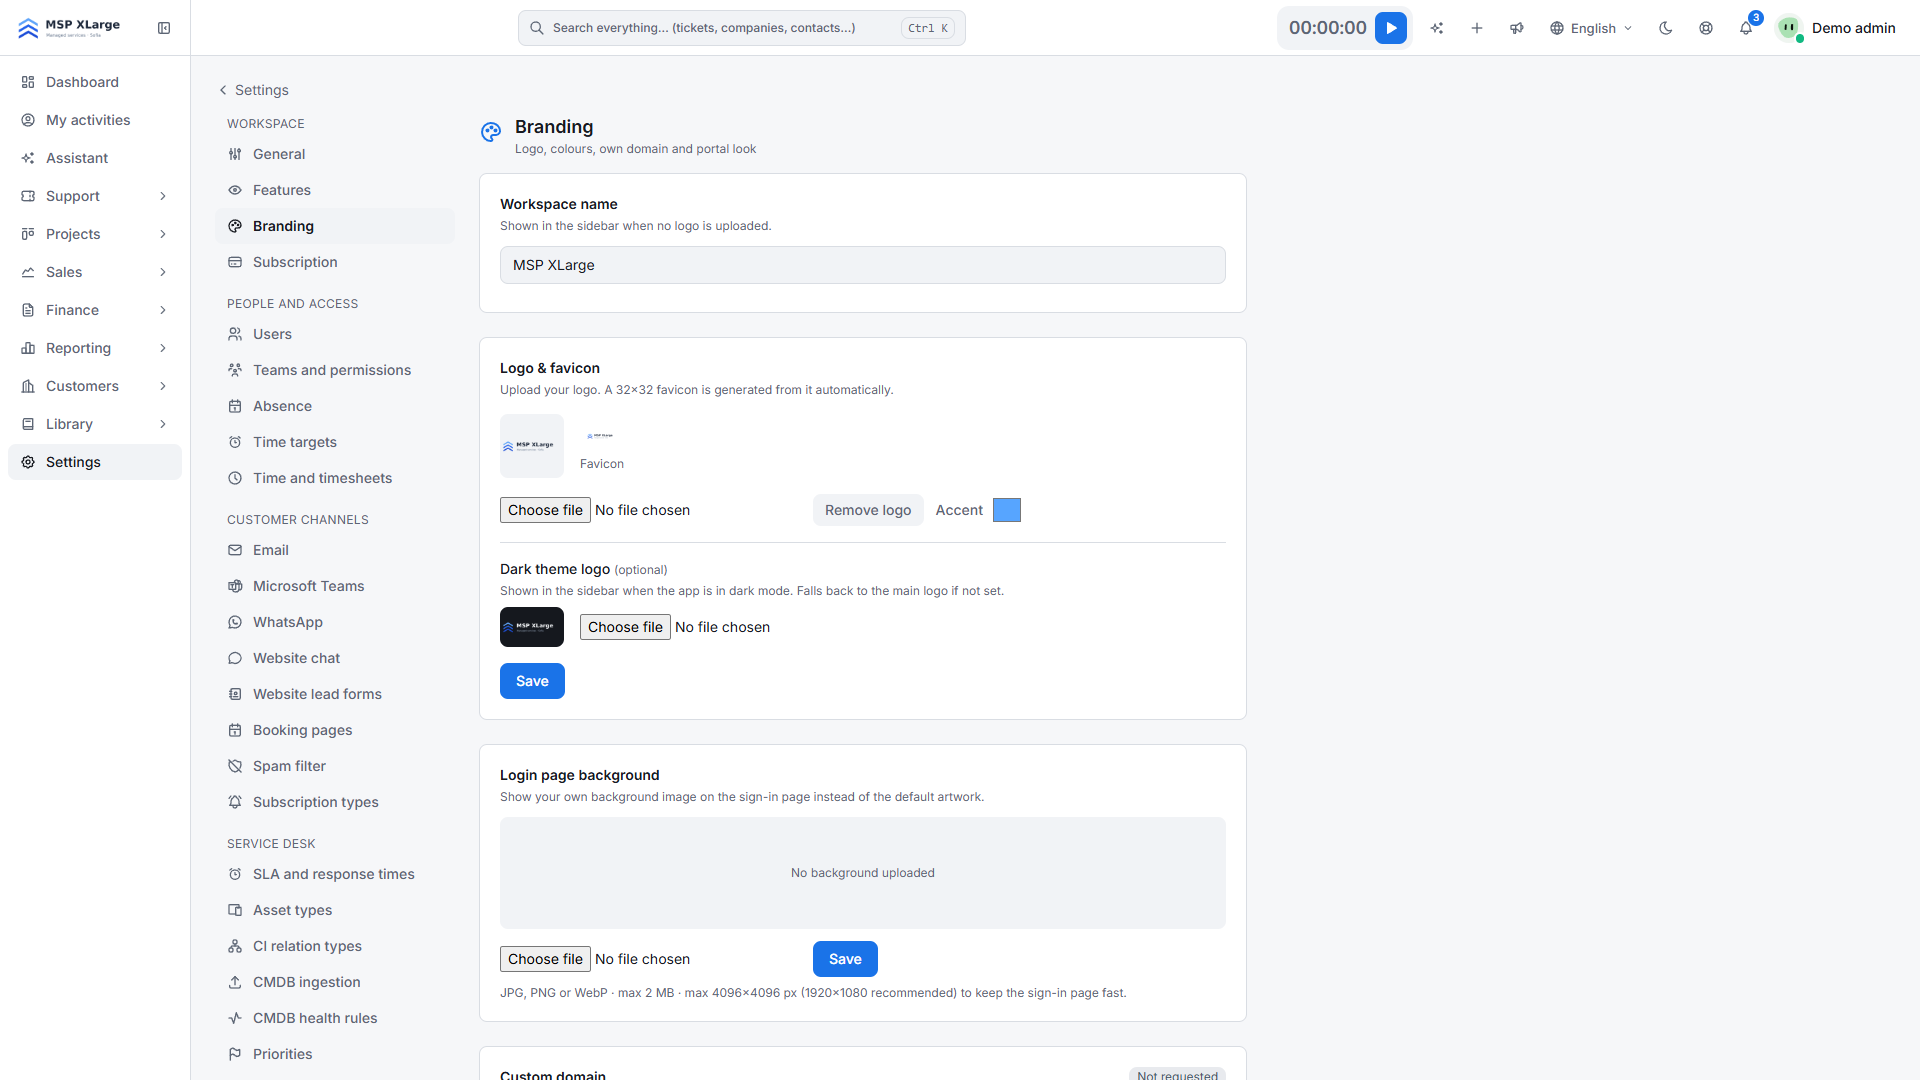 The Branding page with workspace name, logo, colours and login background; the custom domain section sits further down.
Step 2: enter your hostname
- Type your hostname, for example
support.yourmsp.com. Use only letters, digits and hyphens.
- Click Save. You see "Custom domain saved. Point its DNS record at this platform, then request a certificate."
Step 3: create the DNS record
Under Required DNS record, OPS shows the record you need. Normally it is a CNAME in this form:
<your-hostname>. CNAME <target shown in OPS>.
Example: for support.yourmsp.com, create a CNAME named support in your domain's zone that points to the target shown in OPS.
Create it exactly like that at your DNS provider. Don't use an A record with a fixed IP address: the platform's addresses can change.
Step 4: request the certificate
- Wait until the DNS record has propagated.
- Click Request certificate.
- On success, Certificate valid until appears with a date. Open your workspace on the new address.
What happens after you connect
- Your domain becomes an allowed address for your workspace. On the platform it is also registered automatically as a Cloudflare custom hostname; there is nothing for you to do.
- Certificates close to expiry renew automatically every night. You can also use Renew certificate yourself.
- "Certificate issued" and "certificate failed" events are available for notifications and webhooks. See automation.
- If you change or clear the domain, the old certificate and hostname are retired.
Good to know
- One custom domain per workspace, and no wildcards.
- The first certificate is only requested when you click Request certificate. After that, renewal runs by itself.
- Request the certificate only after DNS resolves correctly, or validation fails.
- Snippets for website chat, lead forms and booking links carry the address you copied them from. Copy them again from your custom domain if you want your domain in them.
- Single sign-on and calendar consent keep using the platform's sign-in address.
- No DNS API access is needed: Let's Encrypt validates over HTTP.
Troubleshooting
- "That domain is already in use by another workspace." A domain can only belong to one workspace.
- "Set a custom domain first." or "No custom domain set." Save a hostname before you request a certificate.
- "An issuance for is already in progress." Wait for the running request to finish.
- "Domain validation did not complete." or another Let's Encrypt error. DNS doesn't point correctly yet, port 80 is blocked or a CAA record restricts Let's Encrypt. Fix it and click Request certificate again.
Get started
Want to offer clients a portal under your own name? Get started for free and connect your domain in a few steps. Read more about the multi-tenant architecture and the knowledge base and client portal.