Integrations28 Sept 2026
With lead forms you build a contact form in Xcellerate OPS and embed it on your own website with one line of code. Every submission lands in your CRM as a prospect company, a contact and a new deal in the pipeline you choose, with the message on the timeline. This guide is for admins at MSPs and service businesses who want website enquiries to go straight into their sales process.
TL;DR
- Go to Settings → Customer channels → Website lead forms and click New form.
- Choose your fields and pipeline, then paste one
<script>tag on your website.- Every submission becomes a prospect company, a contact and a deal. It never creates a ticket.
Before you start
- You have the admin role in your OPS workspace.
- You can add a
<script>tag to your website, yourself or through your web builder. - Optional: custom CRM fields in Settings, if you want to map form fields to them.
- Optional: your own pipeline and deal source, if you do not want the defaults.
Set up a lead form
Step 1: Create a new form
Go to Settings → Customer channels → Website lead forms and click New form.
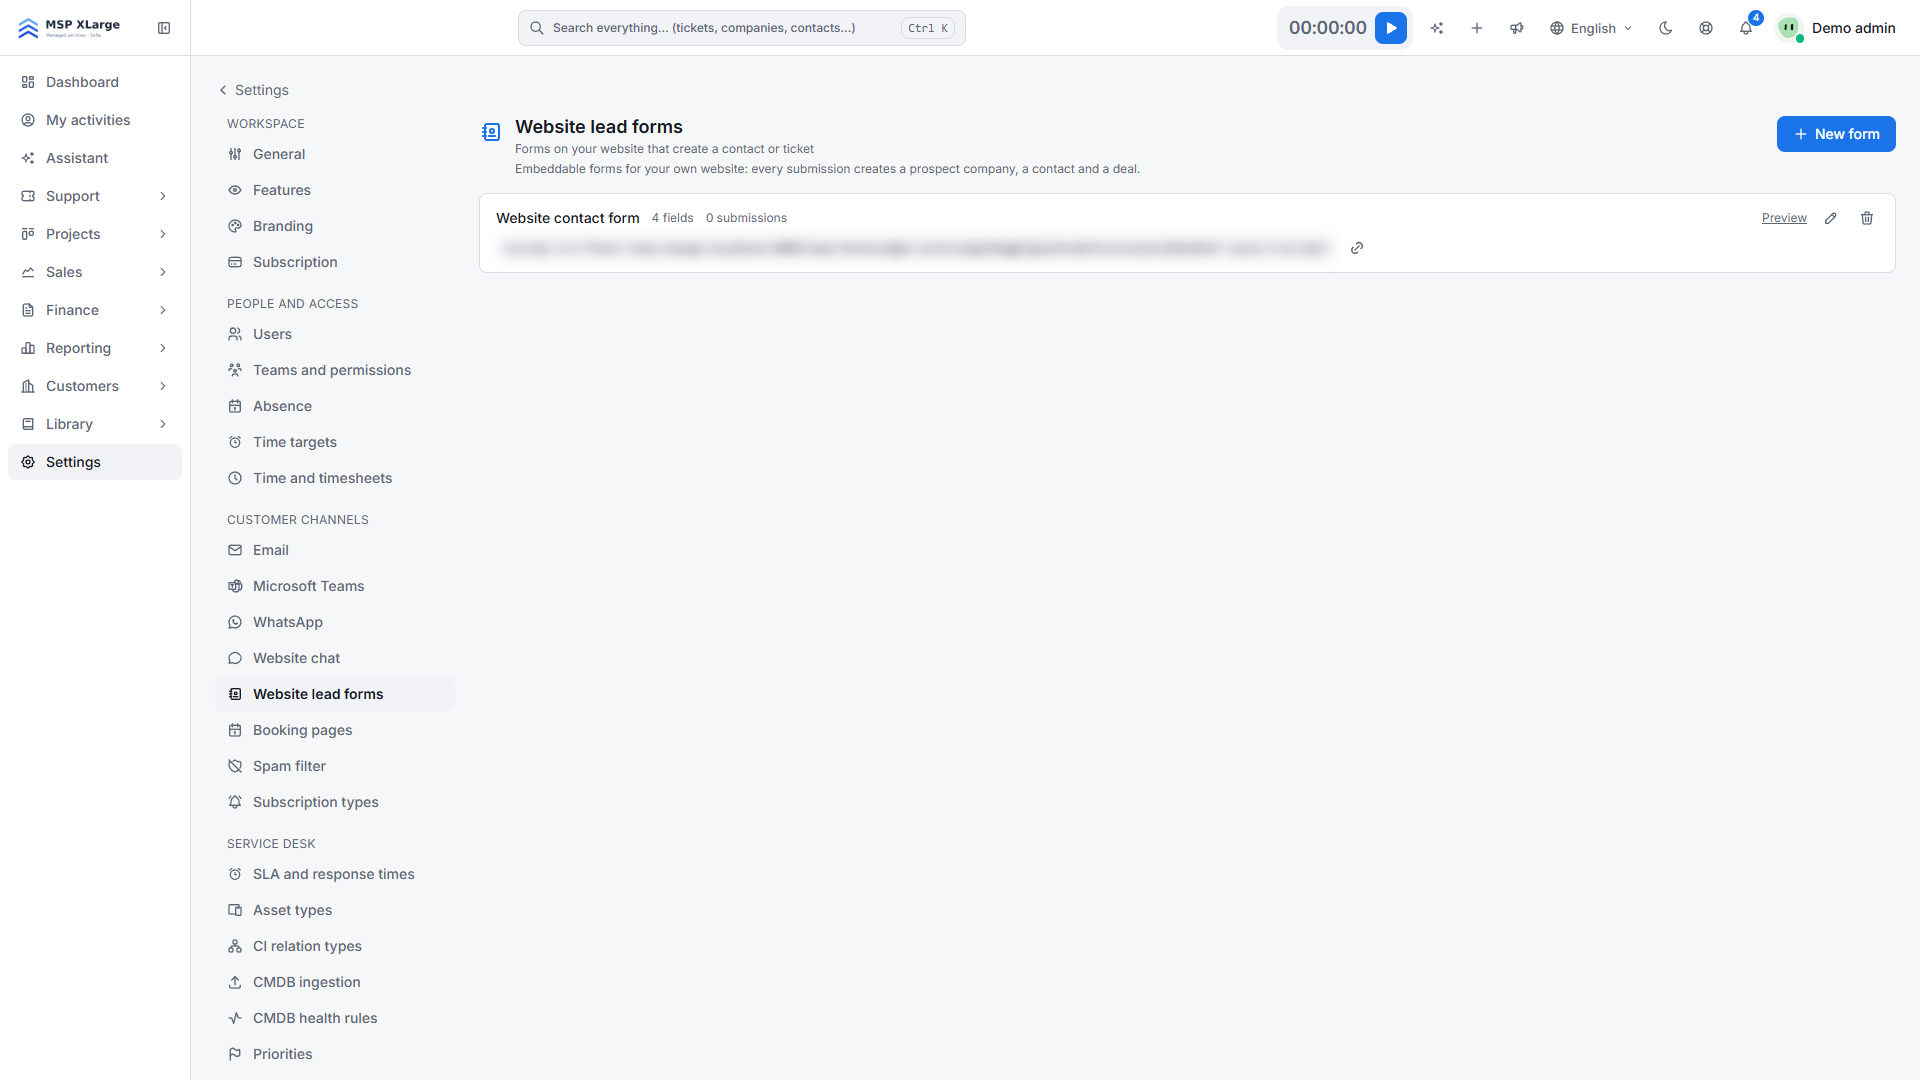 The Website lead forms page with one form listed, its embed snippet blurred and the New form button.
Step 2: Name the form and add text
Enter a name. Optionally add an Intro text and your own Button label.
Step 3: Choose the fields
Under Fields, use Add standard field… to add Name, Email, Company, Phone and Message. With Add custom field… you map a form field to a custom field on a company, contact or deal. Tick Required where needed. Name and Email are always required. A form can have up to 40 fields.
Step 4: Choose the pipeline
Under Pipeline, choose where new deals go. If you leave it empty, OPS uses the Default pipeline. You can also choose a deal source, "Website" by default.
Step 5: Enable and save
Switch Enabled on and save the form.
Step 6: Put it on your website
Copy the form's embed snippet and paste it on your website:
<script src="https://<your-workspace-host>/lead-form/widget.js?k=<form-key>" async></script>
Test the form with Preview. This works even while the form is not enabled yet.
What happens after you connect
On every submission:
- Contact and company: OPS first looks for a contact with the same email address, then for a company with the same name. Otherwise it creates a new prospect company, named after the person if no company was given, plus a new contact.
- Deal: a deal "Lead: ()" is created in the first open stage of the chosen pipeline, with the message as notes and the source set.
- Custom fields: mapped values are stored on the company, contact or deal. A value of the wrong type is skipped and the lead is kept.
- Follow-up: a timeline note "Lead form: " is added, the submission counter goes up and an "opportunity created" event fires. That event can trigger notifications, webhooks and automations.
Read more about the pipeline in sales and billing and automation in OPS.
Good to know
- CRM only, no ticket. A submission creates a company, contact and deal, never a ticket.
- Floating button. The snippet shows a floating button that opens the form in a panel. It is not an inline form on your page.
- Limit: up to 10 submissions per minute per visitor IP address.
- Disable or delete. Disabling a form hides the button. Deleting a form breaks its snippet.
Troubleshooting
- Nothing arrives. Check that the form is enabled and the key in the snippet is correct. Also check whether the submission was treated as spam: a hidden honeypot field and your email spam rules (Settings → Spam) apply. Spam gets a normal "OK" response, so the visitor sees no error.
- Error when saving the form ("Unknown custom field mapping.", "Unknown form field." or "Unknown deal source."): check the custom field, form field or deal source you selected.
Get started
Want website enquiries to land straight in your pipeline? Get started for free and create your first lead form.