
You have just created your Xcellerate OPS workspace. What you do in the first hour decides whether it feels like your tool or like someone else's demo. This guide walks you through the setup checklist in order, trims what you don't need and puts your brand on the workspace.
TL;DR
- Work through the "Finish setting up" checklist on the settings home in order: eight steps, from company details to adding your customers.
- Hide the modules you don't use on the Features page. Only the menu changes: no data is lost and pages stay reachable.
- Add your logo, accent colour, dark-theme logo and login background, and learn Ctrl+K on day one.
Step 1: Open the settings home
When you open Settings, the first thing you see is the "Finish setting up" checklist with a counter such as "3 of 8 done". It is a live guide: items tick off as you complete them, so you always know what is left.
Below it, settings are grouped by task: Workspace, People and access, Customer channels and Service desk, plus areas for Sales, Finance, AI and Integrations. Looking for something specific? Use the settings search.
Prefer to be guided? "Run the setup wizard again" restarts the onboarding wizard, which walks you through billing details, branding and the modules you want visible.
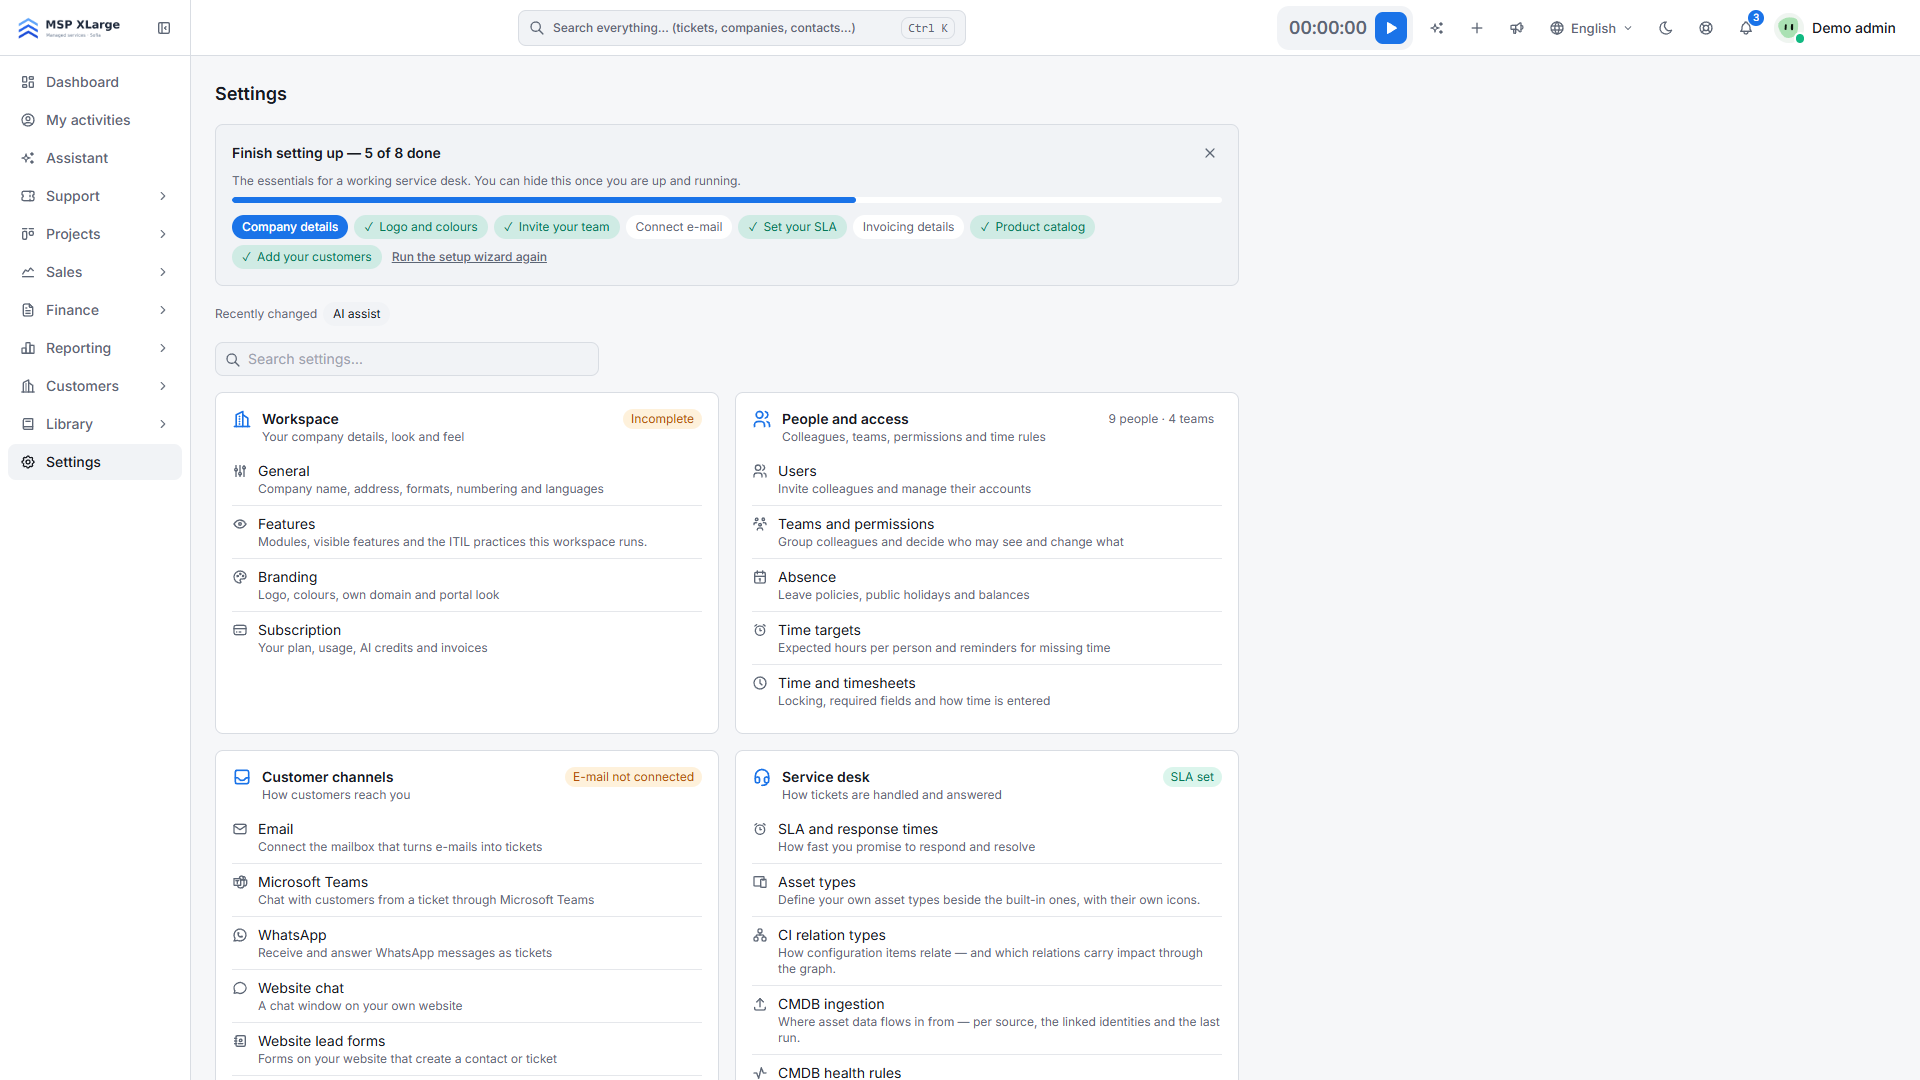 The settings home with the eight-step "Finish setting up" checklist and all settings areas.
Step 2: Walk the checklist in order
The order is not random. Each step makes the next one more useful.
- Company details. Your name and details are the base for everything you send to customers. Get them right before a customer sees anything.
- Logo and colours. Your team and your customers recognise the workspace as yours straight away. More in step 4.
- Invite your team. Invite colleagues by e-mail and choose a role (Admin or Technician) and their teams. Members only see their teams' work, and someone without a team stays blocked until you assign one. So create at least one team first.
- Connect e-mail. Choose Microsoft 365, Google Workspace or SMTP/IMAP. Incoming mail becomes tickets, and replies with the ticket number in the subject thread onto the right ticket. For Microsoft 365 and Google Workspace, register an app on the Integrations page first.
- Set your SLA. An SLA policy drives live breach timers and alerts to team leads. Even one simple policy tells your team what "on time" means.
- Invoicing details. Fill these in now, so your first invoice doesn't wait on missing information.
- Product catalog. Your services and products, which you will reuse on quotes and contracts. Start with what you sell most and extend later.
- Add your customers. Create one company with "New company" to see how it looks, then bring in the rest in one go.
Don't aim for perfection. A reasonable answer in every step beats a perfect first step and seven empty ones.
Step 3: Switch off the modules you don't need
Go to Workspace > Features. You will find toggles per area, including Dispatcher, Projects, Sales pipeline, Quotes, Contracts, Invoices, Timesheets, Reports, Companies, Contacts, Sites, Assets, Knowledge base, Documentation, Playbooks, Products & services and Procurement & stock. There is also a master switch for ITIL practices.
Two things to know:
- The toggles only decide which modules appear in the sidebar. It is purely visual: no data is lost and pages stay reachable. You can switch a module back on at any time.
- Procurement & stock (suppliers, purchase orders and single-warehouse stock) is off by default for services-only teams. Leave it off unless you resell hardware and want to track it.
A practical rule for a small business: if nobody will use a module in the coming month, hide it. A shorter menu makes the first weeks easier for everyone. More on what you can adapt on the modular and customizable page.
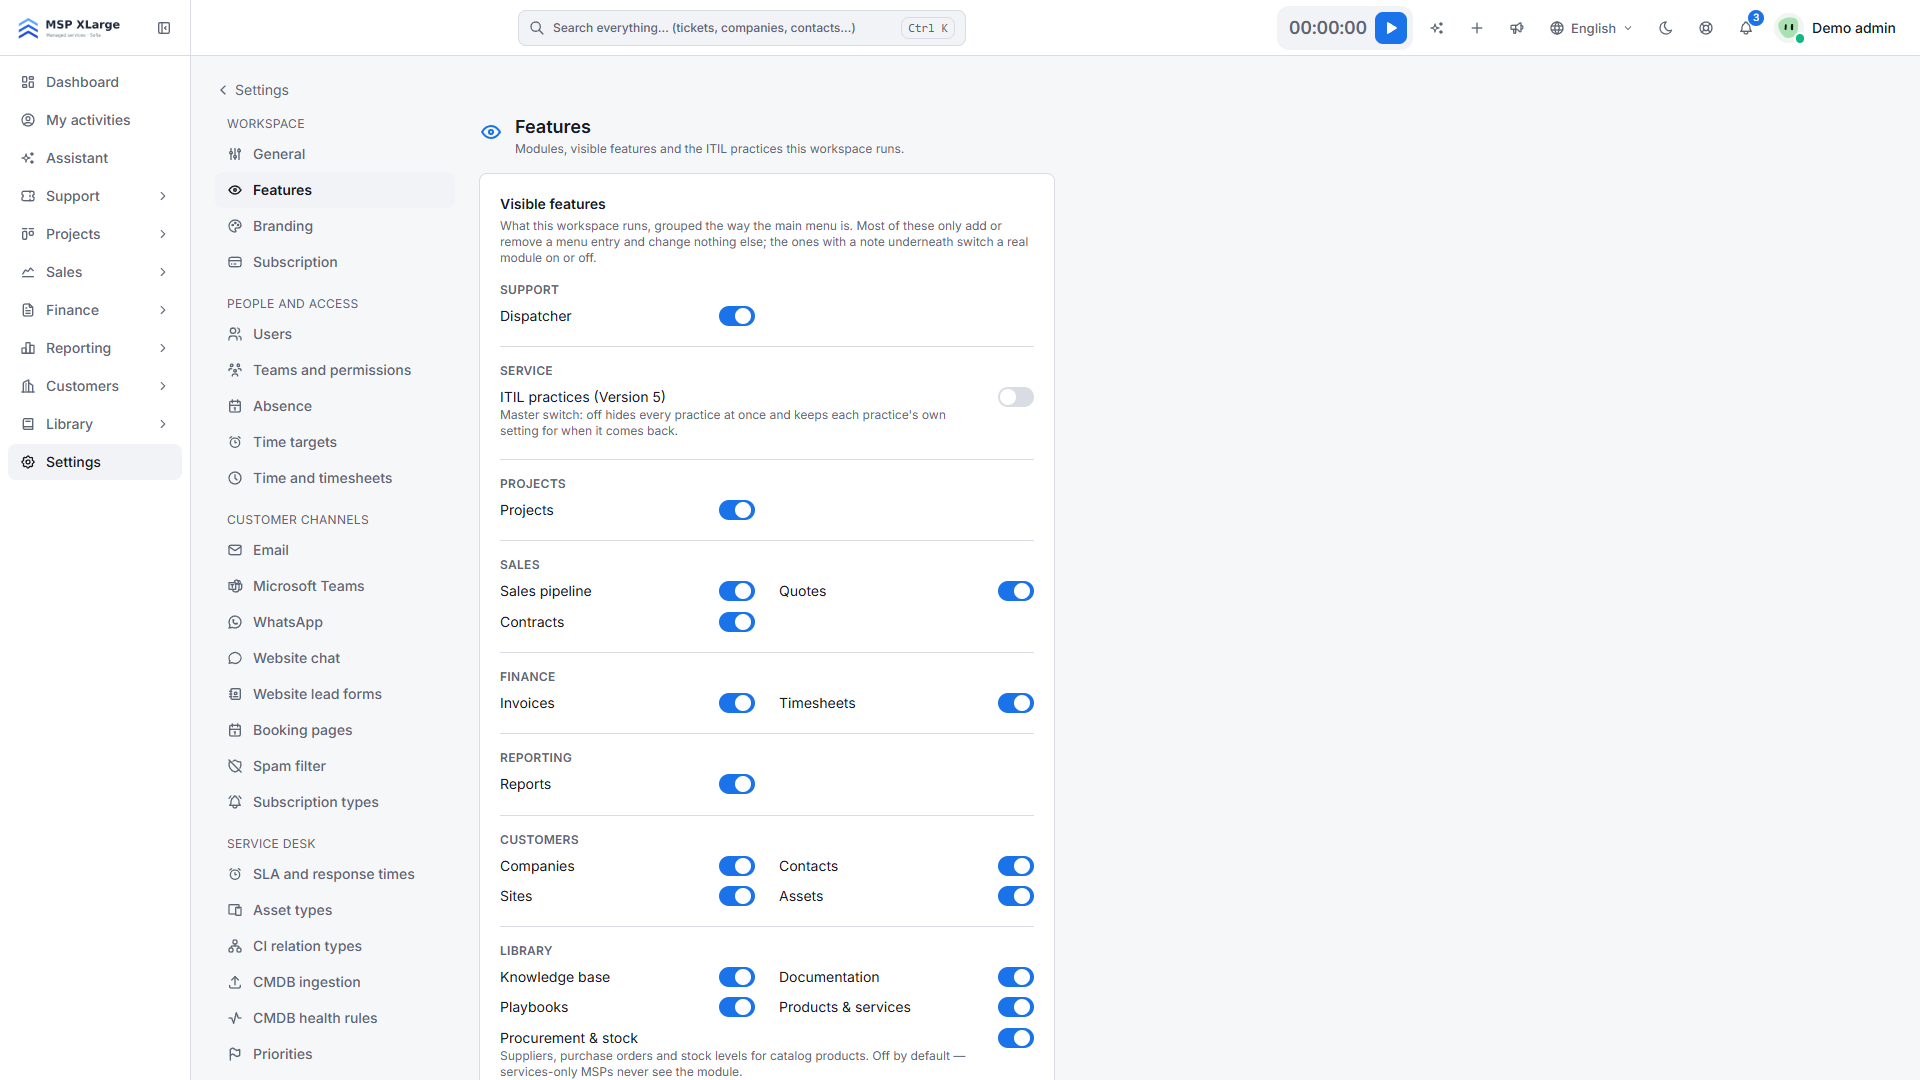 The Features page with toggles per area, from support and projects to procurement and stock.
Step 4: Put your brand on the workspace
Under Workspace > Branding you set:
- the workspace name;
- your logo and favicon (the favicon is generated automatically);
- your accent colour;
- a separate logo for the dark theme;
- the login page background;
- a custom domain.
Don't skip the dark-theme logo: a dark logo on a dark background simply disappears. For the custom domain, OPS works with whitelisted custom domains and automatic Let's Encrypt certificates, so there is no TLS certificate for you to manage. More on the multi-tenant architecture page.
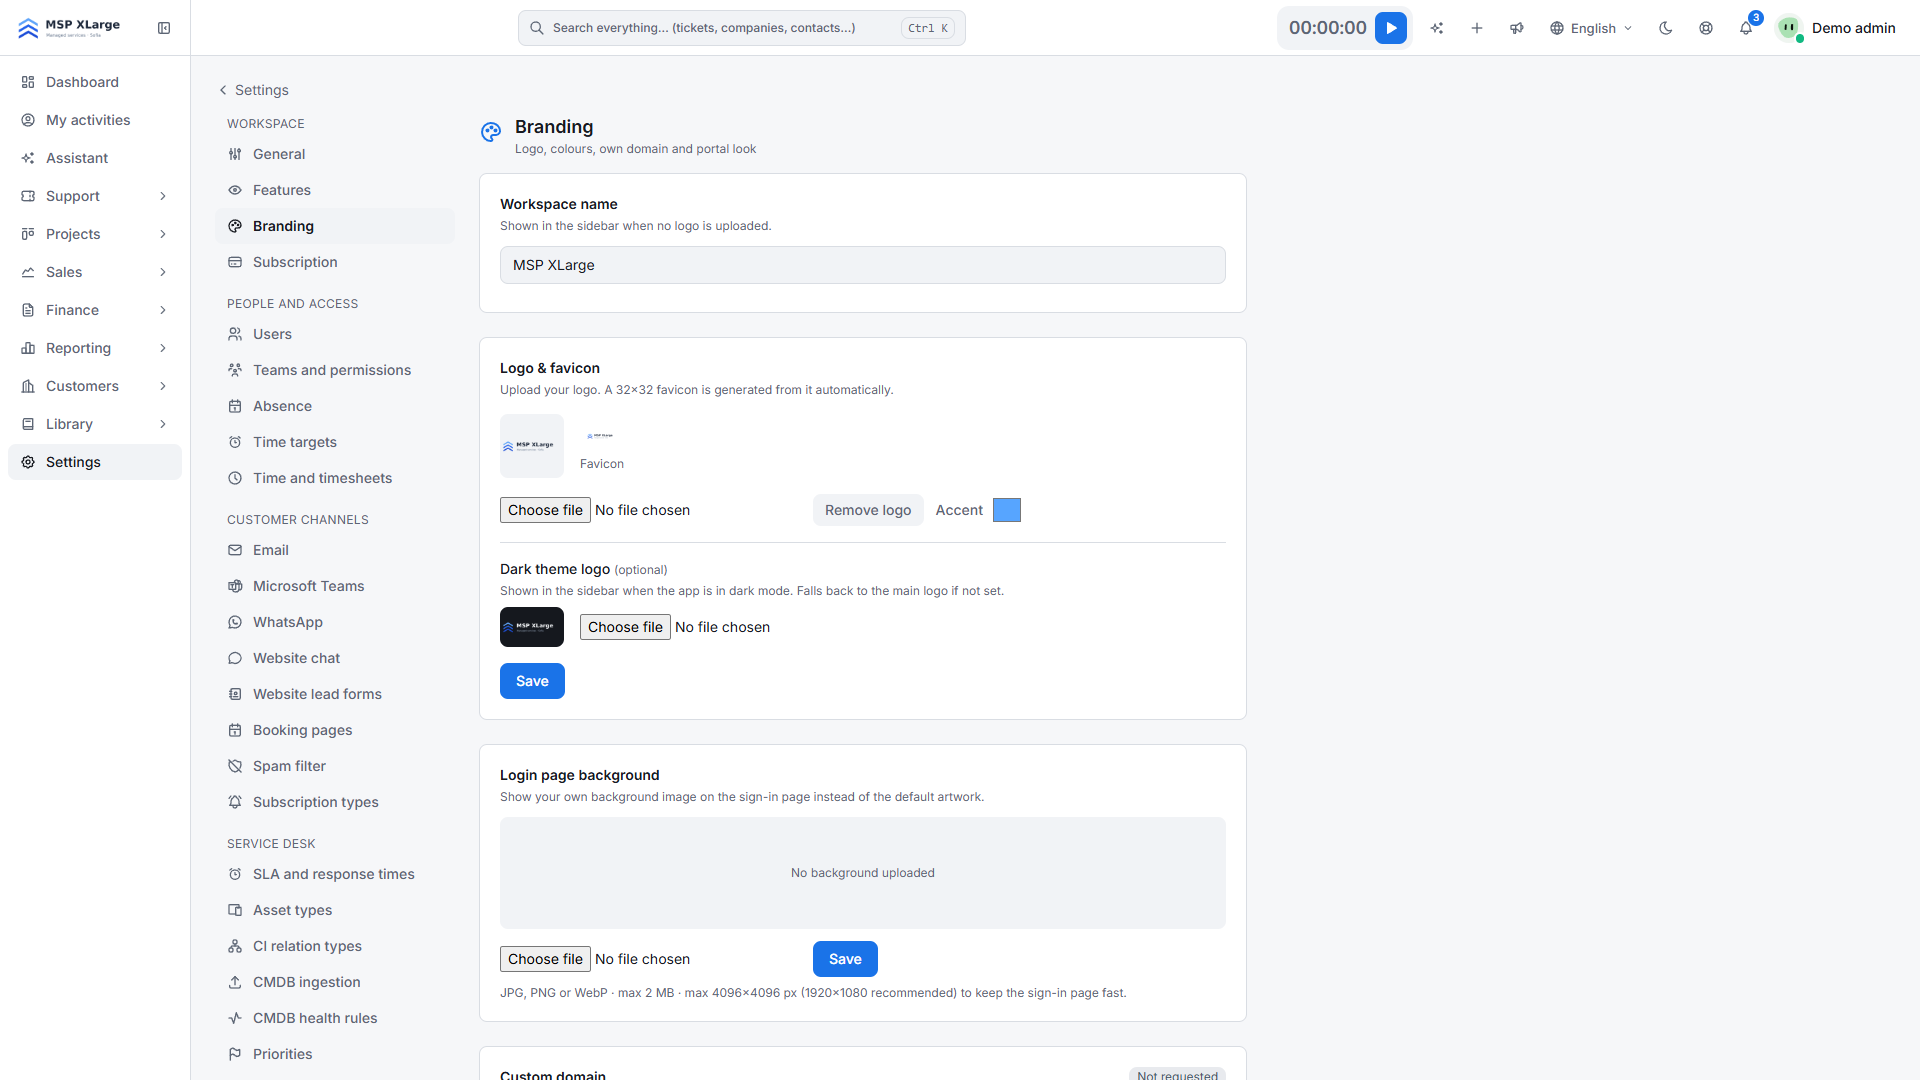 The Branding page with workspace name, logo, accent colour, dark-theme logo, login background and custom domain.
Step 5: Five habits for day one
- Ctrl+K. The command palette jumps to tickets, projects, deals, credentials, checklists and documentation from anywhere in the app.
- Pins. Pin your favourites; they follow you across devices.
- Quick add. The global quick-add menu creates an item without first navigating to the right page.
- Personal dashboards. Drag cards into the order that works for you and save them per user.
- Custom fields. Add fields to tickets, projects, tasks, quotes, contracts, companies, contacts and deals, optionally shown in lists and on the client portal. Only add fields you will actually fill in.
Common mistakes
- Inviting people before a team exists. They see nothing until they are in a team.
- Connecting Microsoft 365 or Google Workspace without first registering the app on the Integrations page.
- Switching on every module "just in case".
- Skipping the dark-theme logo.
What's next
After this first hour the foundation is in place. The next articles in this series go deeper: "Connect your mailbox, Teams, WhatsApp and website chat", "Bring your customers, deals and time into OPS" and "Teams, permissions and security". To see how the channels come together now, have a look at the omnichannel service desk.
No workspace yet? Get started for free and walk this checklist yourself.